Connect NotifyAI to ChatGPT
Connect NotifyAI to ChatGPT to search for live job opportunities directly from your conversations.
Estimated setup time: 3–5 minutes
Setup Guide
Follow these steps to connect NotifyAI MCP to your AI assistant.
Step 1
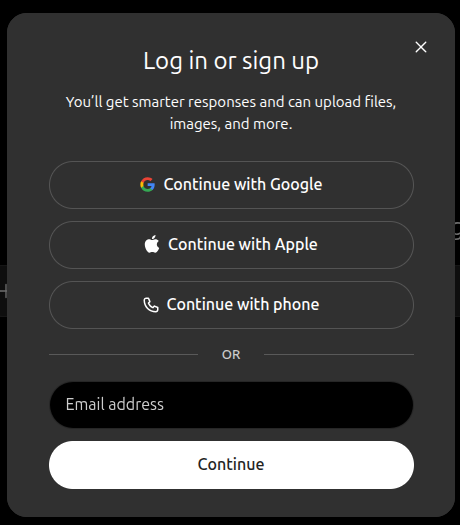
Open ChatGPT
Sign in to your ChatGPT account.
Open ChatGPT and sign in to your account.
Step 2
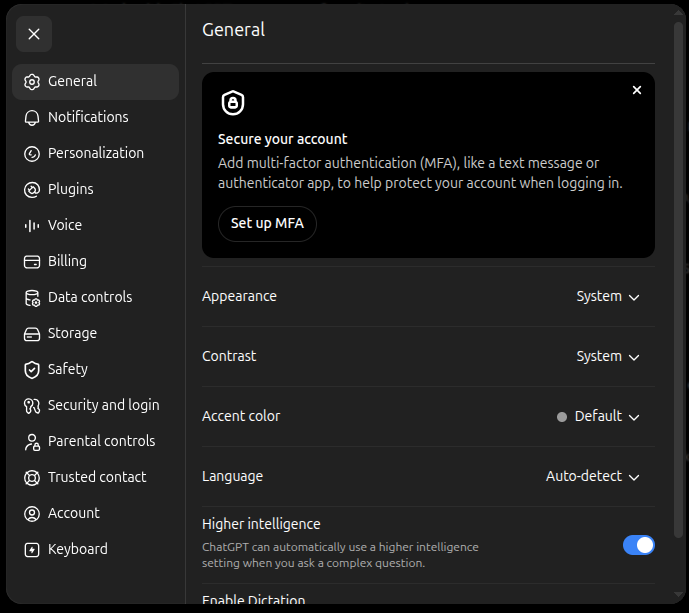
Open Settings
Open your ChatGPT settings.
Open Settings from your ChatGPT account menu.
Step 3
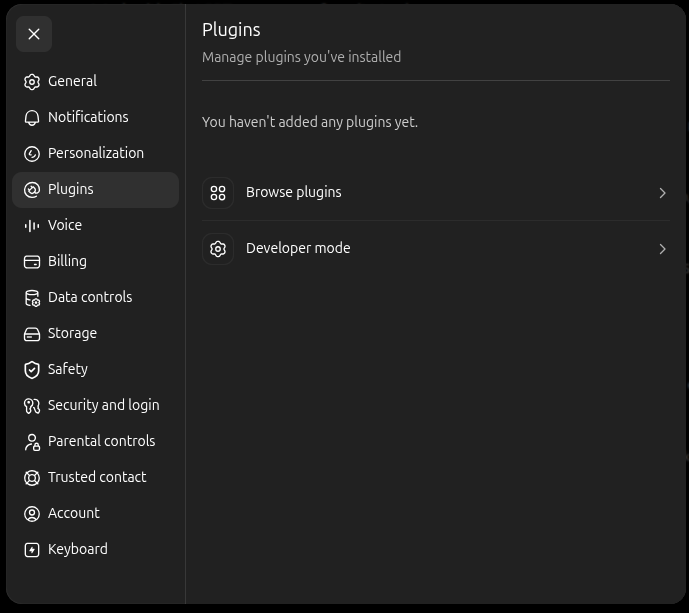
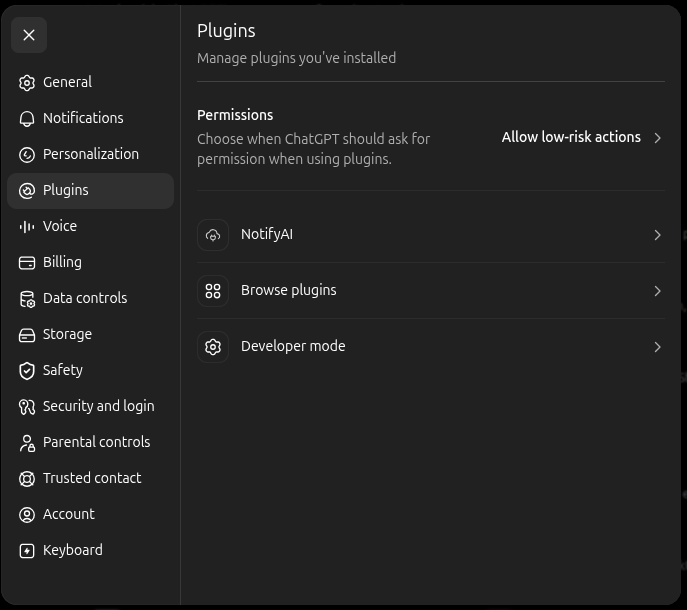
Open Plugins
Open the Plugins section in ChatGPT settings.
Select Plugins from the Settings menu.
This is where you can browse and manage plugins available to your ChatGPT account.
Step 4
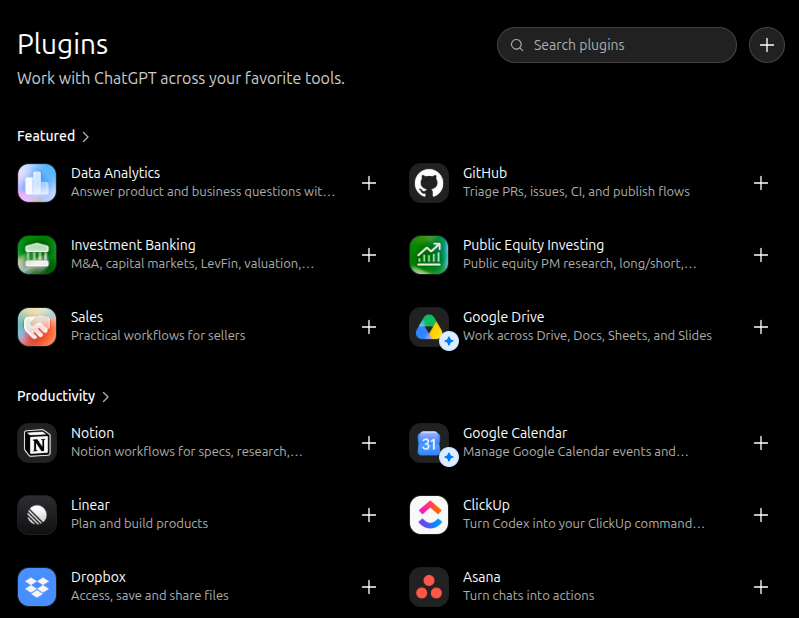
Search for NotifyAI
Check whether NotifyAI is already available.
Use Browse plugins to search for NotifyAI.
If NotifyAI appears in the results, click the + button next to it to add NotifyAI to ChatGPT.
You can then continue to Step 7 — Sign in to NotifyAI.
If NotifyAI does not appear in the results, continue to the next step to add it manually.
Step 5
Enable Developer Mode
Enable Developer Mode if NotifyAI is not listed.
If NotifyAI isn't available in Browse plugins, enable Developer mode.
If Developer mode is already enabled, leave it on and continue to the next step.
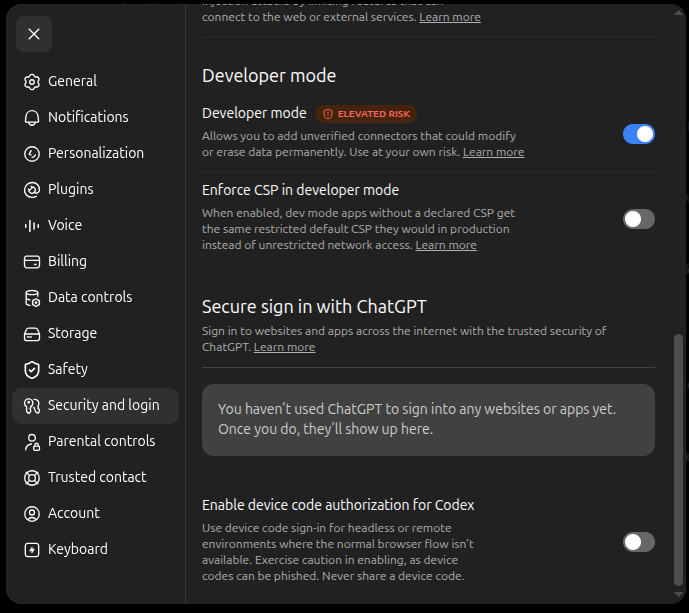
Step 6
Add NotifyAI manually
Add the NotifyAI MCP server to ChatGPT.
Return to the Browse plugins screen.
Click the + button near Search Plugins to add a new plugin.
Enter the following details:
Name: NotifyAI
Connection: https://mcp.notifyai.tech/mcp
Authentication: OAuth
Select the confirmation checkbox indicating that you understand and want to continue.
Then click Create.
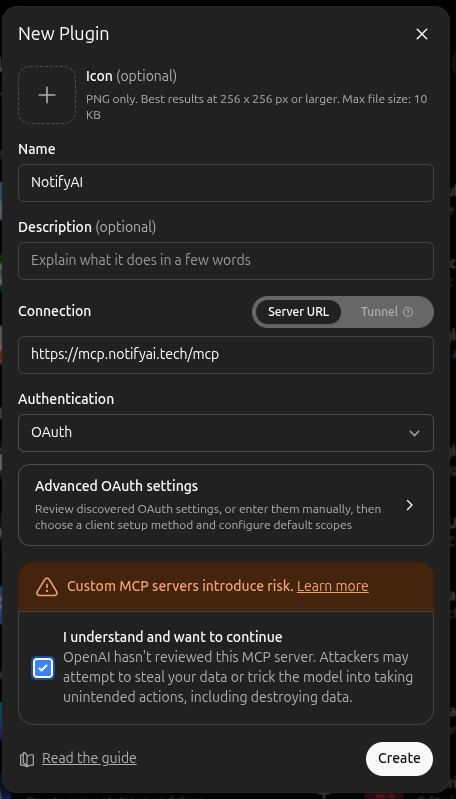
Step 7
Sign in to NotifyAI
Authorize ChatGPT to use your NotifyAI account.
After adding NotifyAI, you'll be prompted to connect your NotifyAI account.
Click Sign in with NotifyAI.
Sign in or create a NotifyAI account using your preferred authentication method.
Complete the authorization process to allow ChatGPT to access NotifyAI.
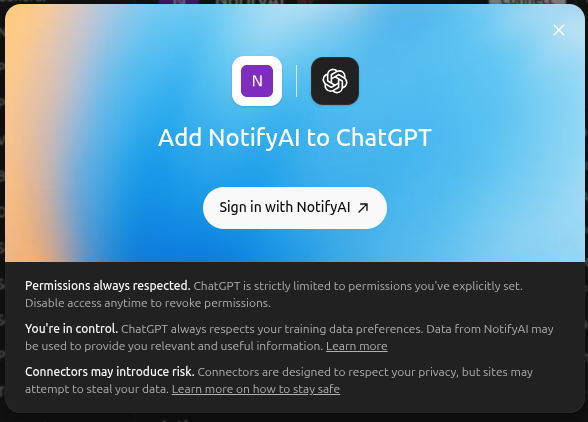
Step 8
Confirm the connection
Verify that NotifyAI was added successfully.
After authorization is complete, ChatGPT will confirm that NotifyAI has been added successfully.
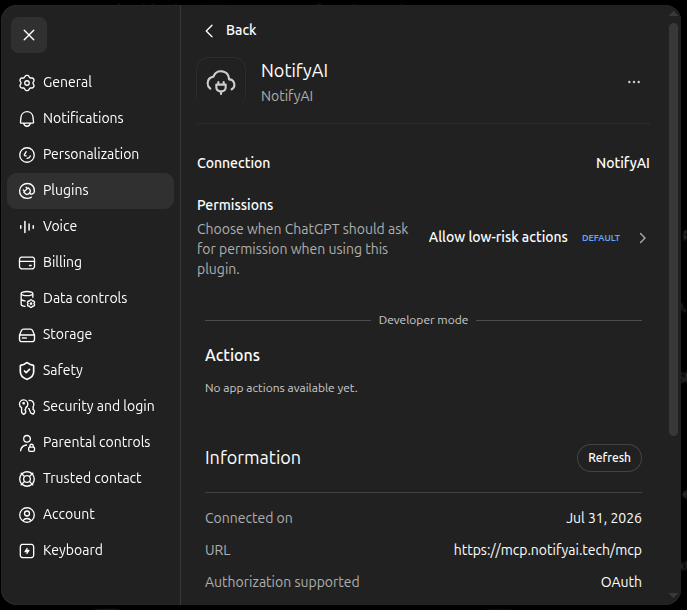
Click Back to return to the Plugins list.
You should now see NotifyAI among your available plugins.
Step 9
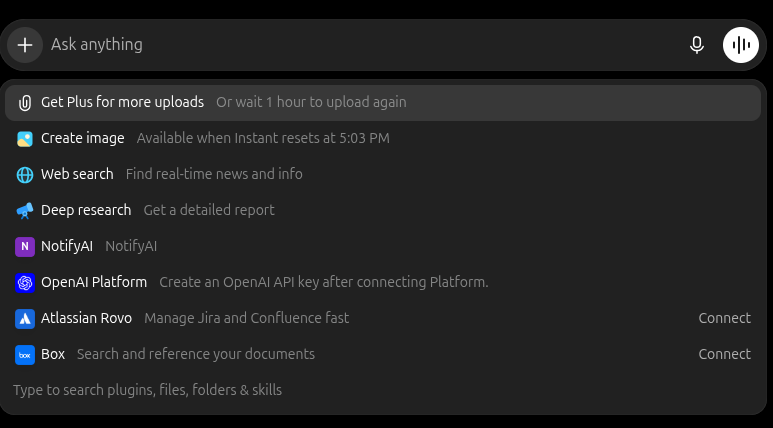
Start a new chat
Enable NotifyAI in a ChatGPT conversation.
Start a new conversation in ChatGPT.
Click the + button next to the message box to view the available tools and plugins.
Select NotifyAI.
Step 10
Search for jobs
Ask ChatGPT to find jobs using NotifyAI.
Describe the jobs you're interested in using natural language.
For example:
Find Backend Developer jobs in Bengaluru.
You can include details such as job title, location, skills, company, or work type to make your search more specific.

Step 11
Review matching jobs
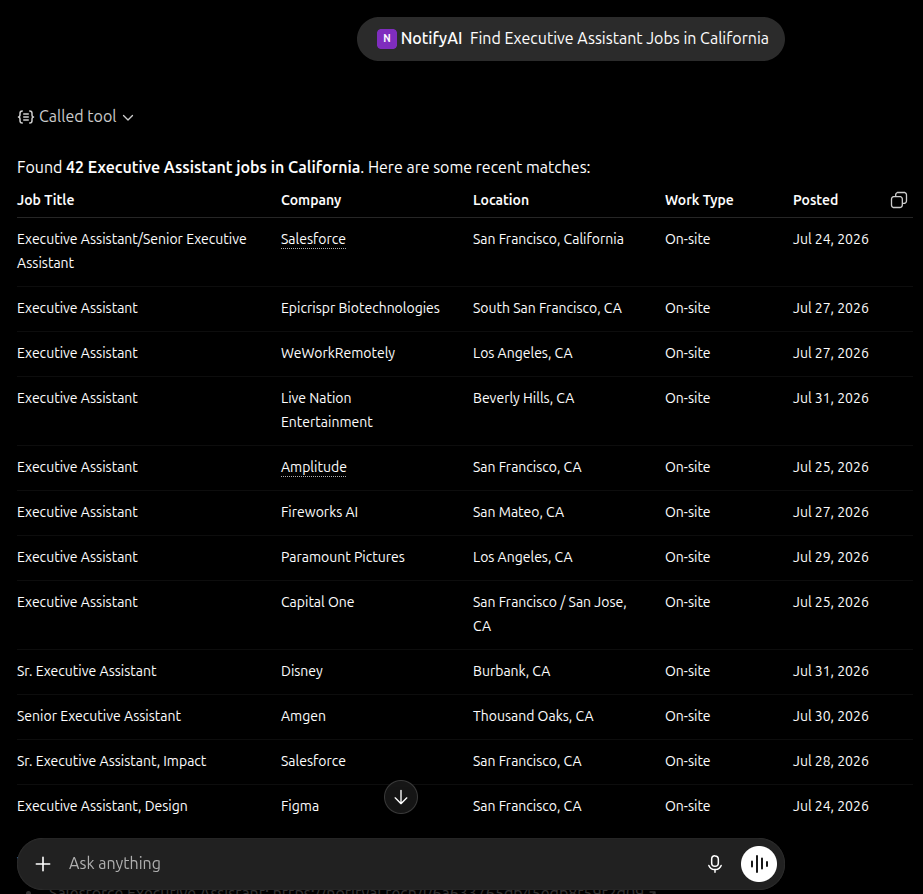
View live job opportunities returned by NotifyAI.
NotifyAI searches for matching opportunities and returns the results directly in your ChatGPT conversation.
Want to learn how to create more targeted searches?
Learn how to search jobs
Verify Your Setup
Make sure everything is working before moving on.
Find Backend Developer jobs in Bengaluru.
You should see
- ChatGPT should use NotifyAI and return matching live job opportunities. If results appear successfully, your connection is ready to use.
- Fresh job listings from NotifyAI
- Relevant locations and company names
- Links to apply for jobs
Start using NotifyAI
Explore Search Jobs
Learn how to create more precise job searches using roles, locations, companies, skills, and work preferences.
Continue